This has been a crazy, exciting and
wonderful week! My twin sister gave birth to a beautiful son! I am an aunt for
the first time!!! Amidst this wonderful news, I also had a presentation to
prepare for on Wednesday and a conference to attend on Friday. It was a busy
week filled with trips back and forth between Montreal and Ottawa. By Saturday
morning I was completely exhausted and ready to relax a bit. What better way
than with a little bit of quilting?
Ever since I started quilting, I have
wanted to make a Christmas quilt. The holidays can be such a fun time to be
with family and celebrate traditions. With the birth of my beautiful nephew, I can only hope that this quilt will come to
represent fun holiday traditions and family time. So, this weekend I started my first Christmas quilt and I’m excited to share the process with you!
 |
| Photo from original pattern |
I purchased the Christmas fabrics I used from Walmart. I had heard that the store carried some fabric, but had never explored that option. I went this week and was surprised to find they had a good
selection. It may not be the finest quality fabric that you can purchase from a quilting shop and some may have serious objections to that, but I think that broader tradition
of quilting is about working with what you have. If you have beautiful
expensive fabrics, that’s wonderful, and maybe your quilt will stay nicer for
longer, but less expensive fabrics can
also produce great quilts.


So, while I was watching this weeks episode of How To Get Away With Murder, very interesting developments I have to say, I started cutting my fabric. The pattern calls for mainly strips and squares, which is one of the reasons this block is so easy. There are no triangles!
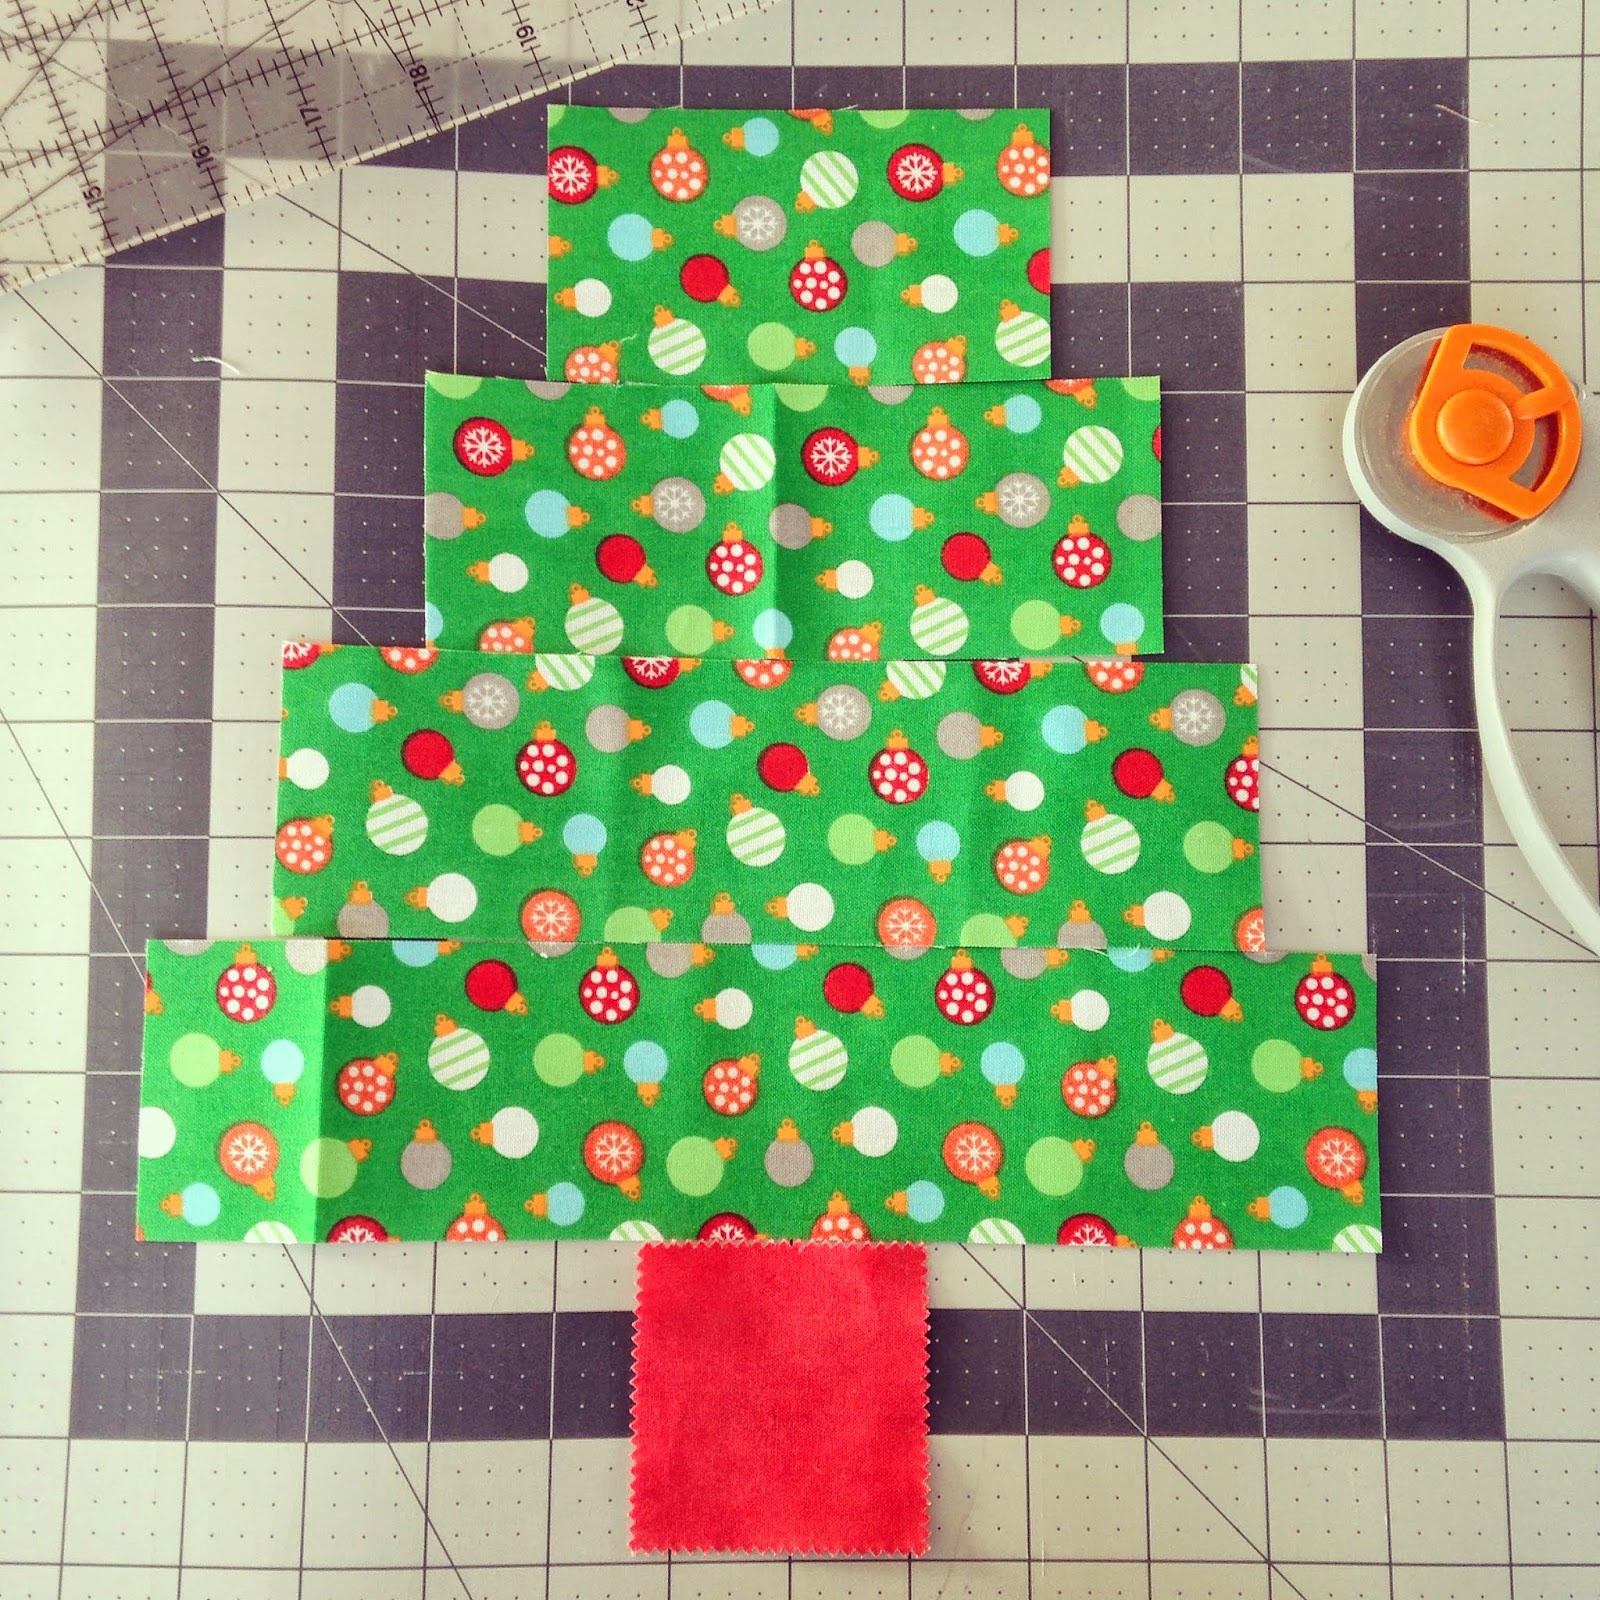

Here are the trees all cut and ready to sew, it was very easy to get to the process. The red one on the right has all the cream pieces that will be make up the background of the tree.
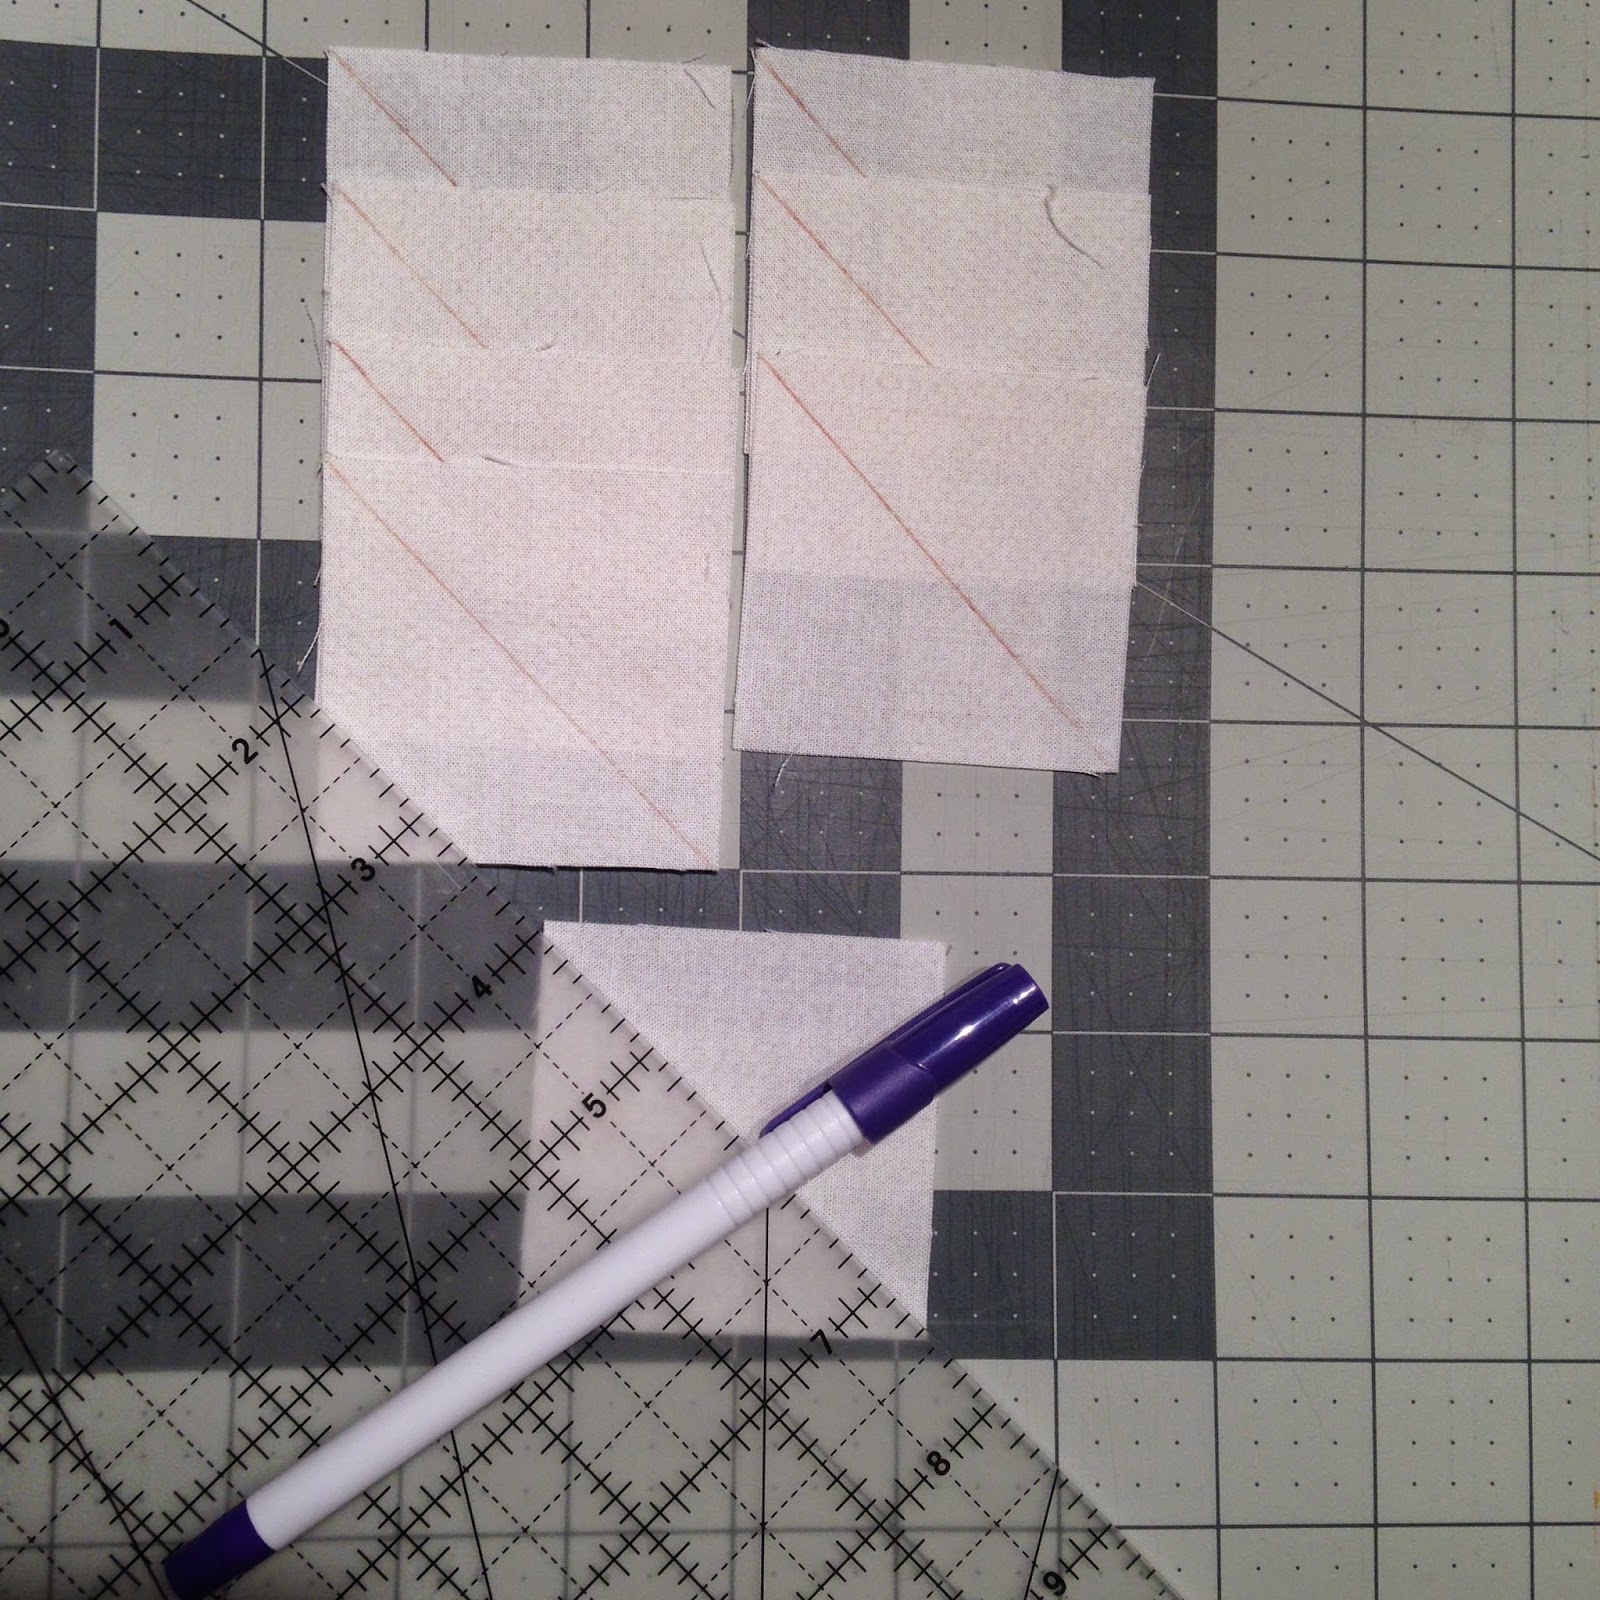
This pattern calls for drawing a diagonal line along 8 of the cream squares that are matched up on each of the tree strips. It is a kind of tedious process, but it makes assembly much faster and so its absolutely worth it.

Of course, my friend Mr. Seam Ripper wanted to get in on the action. I accidentally sewed the tree stump to the wrong side of the tree!! Irritating, but no quilting project is complete without the seam ripper!
Mid-assembly, you can already tell that it's going to be a cute christmas tree!

Here are my trees all finished! I really like how they turned out. I can see my quilt coming together nicely with other fabrics and maybe another block or two mixed in, maybe a star, well see how it goes. I doubt I'll have time to finish this before christmas, but its certainly a step in the right direction! What do you think so far?


Some tips for this pattern:
Choosing the right foot for the job
As I started quilting more, I bought a quilting foot for my sewing machine that has a 1/4 inch guide. It is perfect for certain jobs since it ensure perfect seams. but for others like sewing a diagonal line, my traditional foot is much better.


The photo with the red fabric has the the regular foot, it works for all types of sewing. The photo with the cream fabric has the quilting foot with the guide.

I have found that whenever possible it is so much better to use chain piecing as a technique. The technique calls for sewing each piece right after the other without cutting the thread in between. If you look at the photo on the left above, you will see there is another square right behind the one I am sewing, this is chain piecing. It is much faster and saves a lot of thread! On the right here you will see the 4 pieces I sewed using the chain piecing technique.
No comments:
Post a Comment